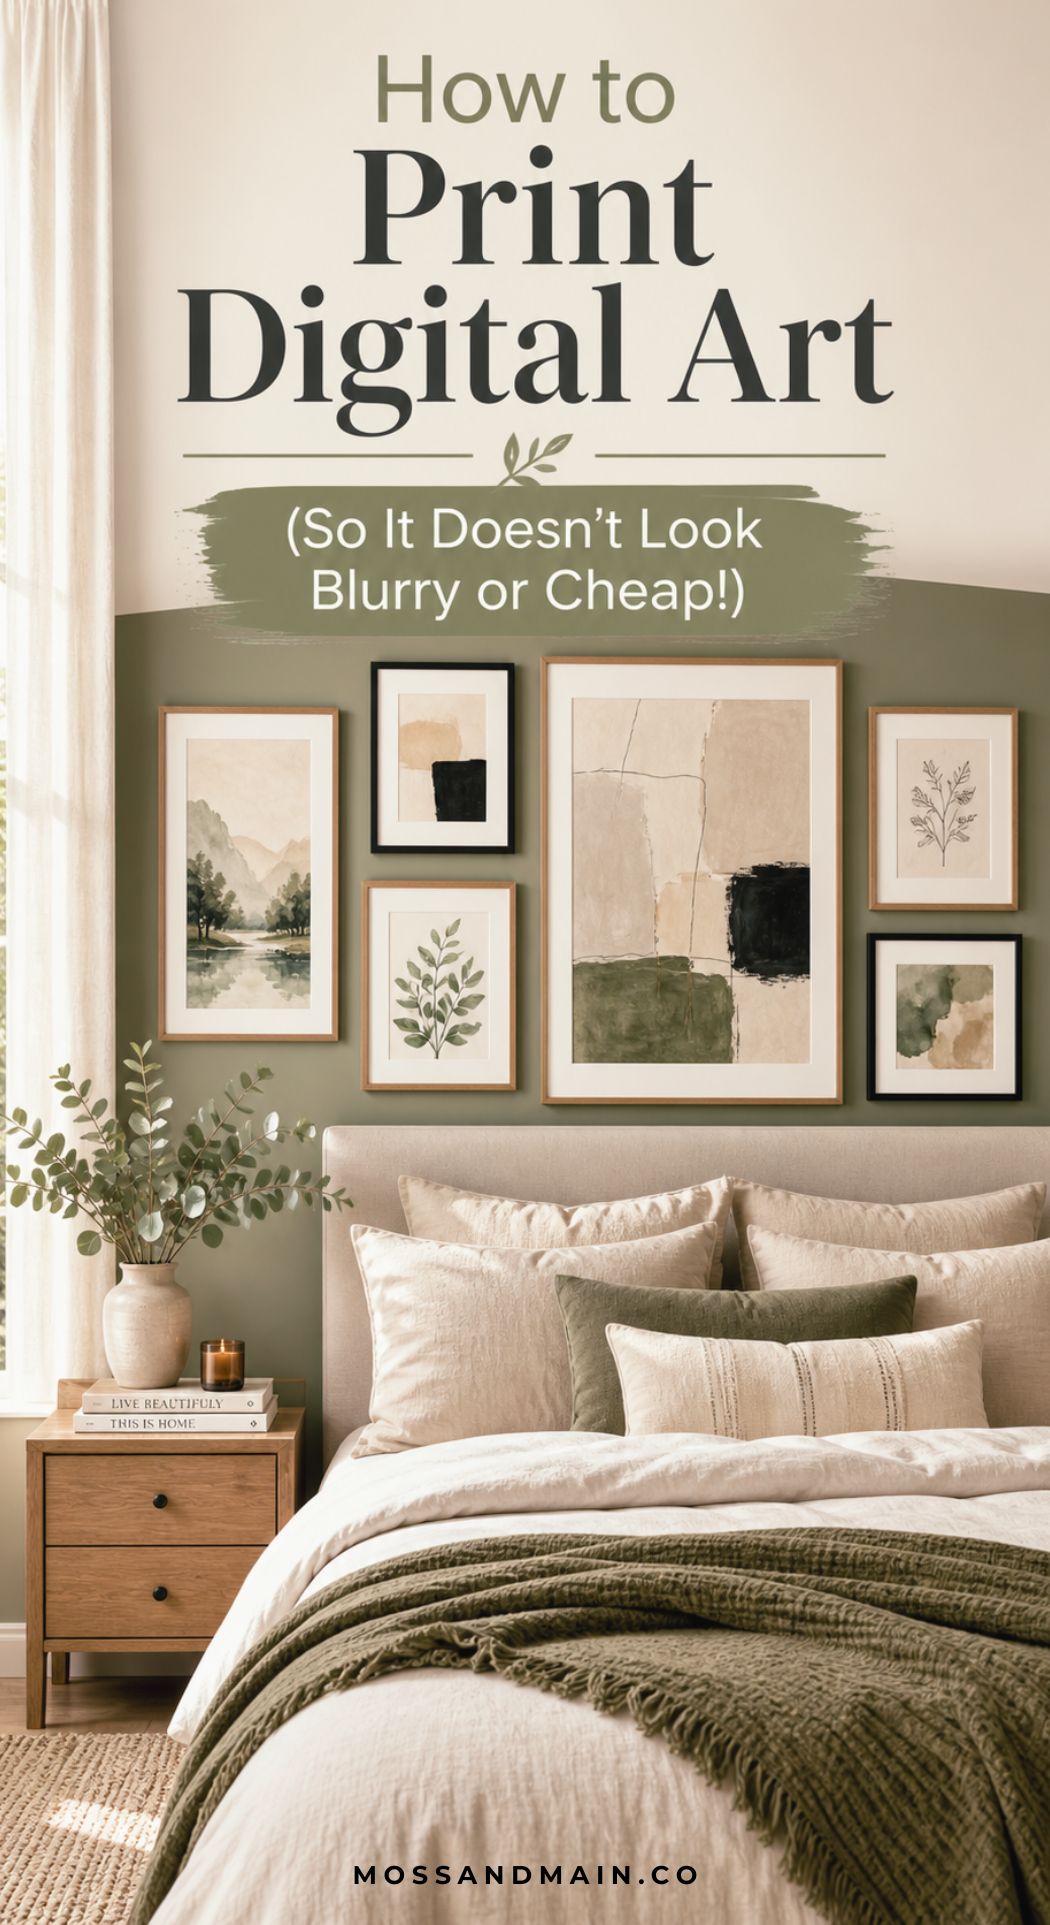
How to Print Digital Art (So It Doesn’t Look Blurry or Cheap!)
Please note: This website contains affiliate links. As an Amazon Associate, we earn from qualifying purchases at no additional cost to you.
So, you’ve found the perfect abstract landscape or a stunning Van Gogh sketch from a museum archive.
You’re ready to hang it on your wall, but there’s one big question: How do you print digital art so it looks like a real painting and not a blurry mess?
Printing digital art can feel a little techy, but I promise it’s easier than it looks. Here is my “No-Fail” guide to turning a free digital file into a high-end masterpiece for your home.
How to Print Digital Art in 5 Simple Steps
1. The “Lego Rule” (Why Resolution Matters)
The biggest mistake people make is printing an image that is too “small” for the paper. Think of a digital picture like it’s made of tiny Lego bricks (these are called pixels).
- Small Prints (8×10): You have plenty of “bricks” to make the picture look smooth and sharp.
- Large Prints (24×36): If you try to stretch a small file onto a huge piece of paper, you have to spread those Lego bricks too thin. This is when the art starts to look “blocky,” fuzzy, or blurry.
The Golden Rule: For every 1 inch of paper, you want about 300 pixels.
The “Pixel to Inch” Cheat Sheet
To keep your art looking sharp, just remember the 300 Rule: (Number of Inches) x 300 = (Pixels Needed).
- For a Small 10-inch print: You need a file about 3,000 pixels wide.
- For a Medium 18-inch print: You need a file about 5,400 pixels wide.
- For a Large 36-inch print: You need a file about 10,800 pixels wide.
Have a Unique Size? Try Our Pixel Calculator
To simplify things for you, we created this handy calculator! Just enter the width and height of your desired image and it will give you the required # of pixels.
Required image size
7,200 × 7,200 px
51.8 megapixels
Now that you know the ideal number of pixels, how in the world do you make your image that large?!?
2. The “Magic” Fix: AI Upscaling
What if you find a “must-have” digital painting on Etsy but the file they sent you is too small?
Don’t panic! We have “Magic Upscalers.” These are free AI tools that look at your small picture and “add” extra matching Lego bricks to fill in the gaps.
- The Move: Upload your photo, click “2x” or “4x” upscale, and download the new, giant version.
- The Result: Your blurry little file is now a crisp, high-resolution file ready for a massive frame.
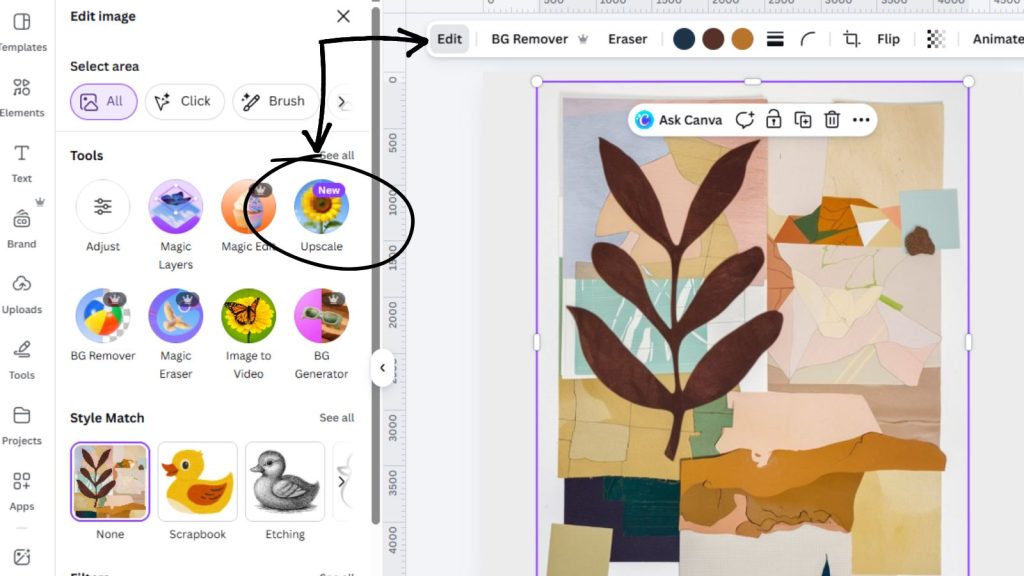
QUICK TIP: If you have a paid Canva account, they have an awesome image upscaler tool. When you upload your image to Canva and are in edit mode, just select “Upscale” from the list of tools on the left menu. Let it work it’s magic and then just download as a PNG file!
3. The “Shine Factor” (Why You Should Always Go Matte)
If you take one thing away from this masterclass, let it be this:
Never, ever use glossy paper.
Real vintage art was painted on canvas or thick paper—neither of those things are “shiny.” If you print a 100-year-old oil painting on glossy photo paper, the light will bounce off it and make it look like a cheap snapshot.
- Choose Matte: It has a flat, velvet-like finish that makes colors look deeper and more expensive.
- Choose Giclée (if you’re fancy): This is a professional way of printing that uses high-quality ink. It’s the “Gold Standard” for art that won’t fade for 100 years.
4. Where Should You Send It?
You don’t need a fancy printer at home to do this! You can upload your file to a website and have it mailed to your door.
For the Best Quality:
Use Mpix or Artifact Uprising. Ask for their “Fine Art” or “Giclée” prints on matte paper.
For the Best Price:
Use Walmart or Snapfish. Choose their “Poster” or “Enlargement” options. (Pro Tip: If you use a budget printer, leave the glass out of your frame to hide the shine!)
Summary Table: Your Quick Printing Cheat Sheet
| If you want… | Use this Paper… | Go to… |
| The Museum Look | Fine Art Matte | Mpix |
| A Vintage Vibe | Canvas | Artifact Uprising |
| A Budget Refresh | Standard Poster | Walmart / Snapfish |
| A Quick DIY | Heavy Cardstock | Local Print Shop |
5. The “Designer Secret” Texture Hack
Want to really fool your friends into thinking you bought a real oil painting?
- Order your art as a Canvas Print.
- Go to a craft store and buy a tube of “Clear Gloss Gel Medium.”
- Use a cheap paintbrush to lightly paint over the lines of the artwork on the canvas.
- When it dries, it stays clear but creates real 3D brushstrokes that catch the light just like a real painting.
Ready to find your art?
Now that you know how to print like a pro, it’s time to go shopping (for free!). Check out my curated lists of the best free public domain art to get started:
[COMING SOON]
- 25 Moody Landscapes for a Dark Academia Home
- The Best Free Van Gogh Prints You Can Download Today
- 15 Vintage Botanical Sketches for a Gallery Wall
Please note: This website contains affiliate links. As an Amazon Associate, we earn from qualifying purchases at no additional cost to you.
